Hey guys,
in my first DIY log I want to show you my recent work. It’s not that complicated but you may find some inspirations to these posts. I am mostly reparing or modding game consoles or controllers, sometimes I am building my own furniture or some 3D print projects. I also like to explain some things to you to share my electronical knowlege. Now to my project:
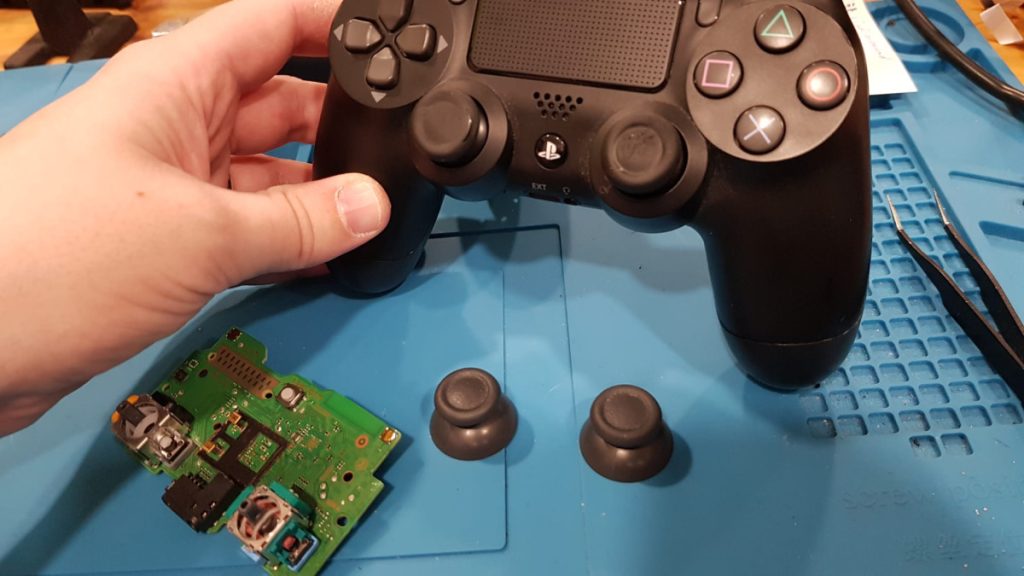
The PS4 controller is my all time favourite. I like the ergonomic grip, the button layout and the possibilities the controller offers.That’s why I have seven of them. Well only two are working and the others do have some minor or major issues. I once bought some broken ones and either repair them or use them as a “replacement-parts-collection”. You can see on the picture that I took out some Sticks to replace them with the worn off ones:
Overview
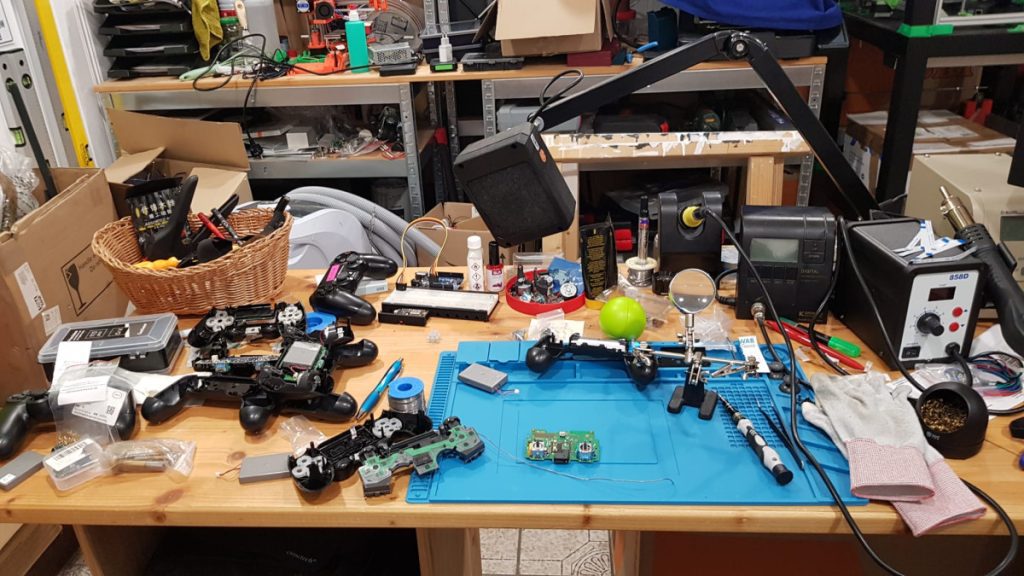
On this picture you can see my workstation where I can screw and solder anything. The place looks a little messy but in my actual appartment I have no enough room for all my stuff. The desk is also self made. Maybe I’ll find the pictures I made during building this desk so I can show them to you in the future.
On the left side you can see the controllers already ripped apart. That was the point I realised that there are about four different types of PS4 controllers. Sadly I did not make more photos for you to see the differences. I wasn’t prepared to show this little project to others so I have more to describe than to show.
1. replace ribbon cables
On the right side on the little black station with the white front you can see some white”ribbon cables”. They are the only thing that connects the PCB of the controller and the smaller PCB for the light and micro USB port. I had to replace them in some controllers because at least two of them got damaged after cleansing. I had to buy them on ebay for a small price.
Please note that when you are buying those cables, some controllers do need a 12 pin or 14 pin variant. Also remember how the cable was put in the controller. Once the controller is put together and emits no light on the light bar, you have to twist the cable to 180° and put it back again.
2. remove vibration motors
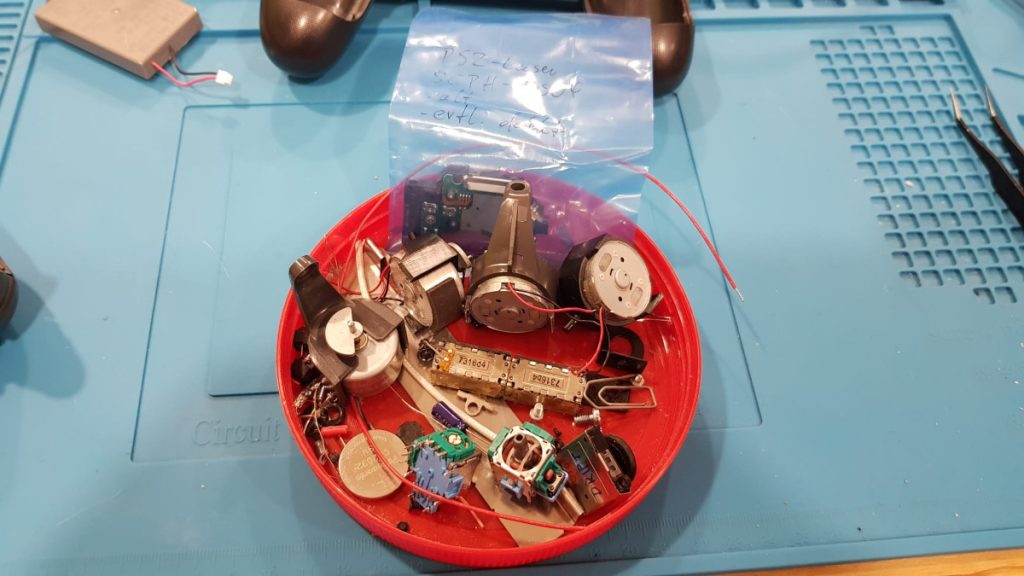
I also dislike vibration motors. They are too heavy and useless to me. I like the ergonomic design of the controller but the weight hurts my hands after a long gaminmg session. I even put them out of the switch pro controller ( square thing in the middle).
Why it might be good for you to remove them as well: the latest version of the PS4 controller weights about 167g (w.o. motors). The motors do have a weight of 54g. That is almost 1/3 of the whole controller weight. The weight really makes a difference, trust me ;).
When you want to get rid of them: just open the controller, cut off the cables and the plastic that holds them and you are done. The PCB of the controller doesn’t need the holding elements from the motors to stay in their place.
3. replace controller sticks
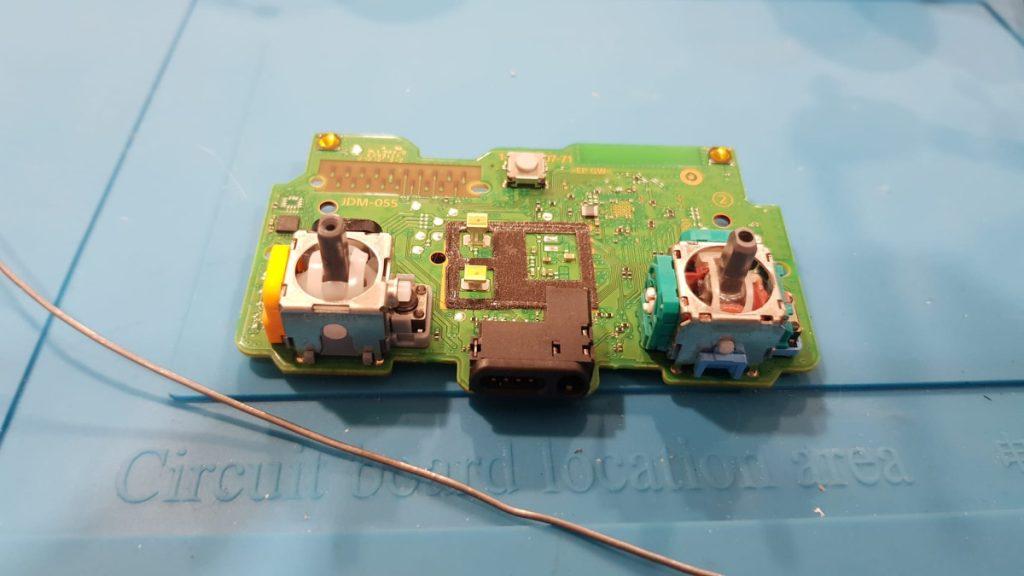
The next picture shows the main PCB of the controller. There are two sticks on them and I needed to replace the left one. The left one (mostly used in games for moving the player) constantly stopped moving while walking forward.
A stick has two potentiometers, also called “poti” to change a resistor value while moving the stick. The stick realises the difference and sends the signal to the console and thus to the game, where the character moves in the correct direction.
Sadly these potis can break after many many hours of using them. The carbon lines in these potis are grinding off and lose the connection. Thus the controller cannot see where you move the stick at.
To swap the sticks you have to remove the old one by desoldering them. I recommend a desoldering station with a vaccum pump to be quick and efficient as possible. A simple soldering iron works as well but you need something to remove the solder.
If you are using an old controller for replacement parts, both sticks on a controller are exactly the same kind.
If you want, I can give you a tutorial in the future how to resolder things like these. Let me know in the comments 😉
You may noticed that the right controller has a blue/turquoise looking poti and the new one on the left has a yellow one. That is because this stick has an inbuild hall-effect sensor on the inside. So when you are moving the stick the sensor measures the distance you moved and sends the same data like the poti version does. But the big advantage of this thing is that it is abraison-free. So this stick may hold for the eternity.
I was interested in buying these to try them out. Also they aren’t more expensive as the usual one. Also the hall effect-technology isn’t that new. The Sega Saturn analogue controller and the dreamcast controller are using this technique ages ago.
But there is a small downsite: you may have to calibrate the controller at the end. I watched some Youtube tutorials and saw a site where you can read the deviation of the stick. Sadly you can only use the full potential of this side if you are using Chrome as a browser ( I am a firefox-fan :))
Anyway, here the link to the calibration site:
https://www.bitro.de/gamepad-tester
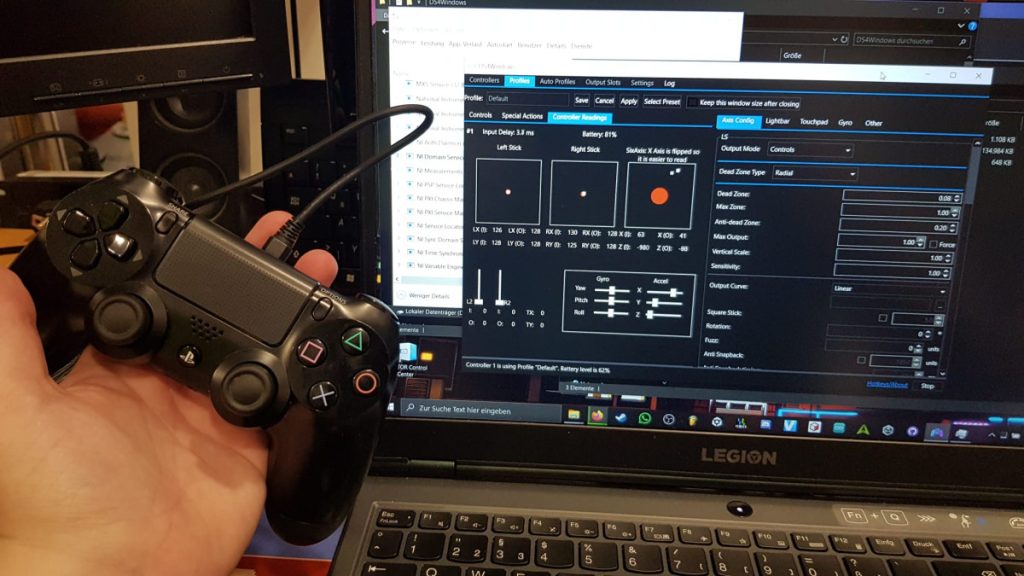
I also had to resolder more controller sticks but with the poti -version. For this I just checked them with the “DS4”-app:
That’s it. I hope you enjoyed it. Please leave a comment if you have suggestions, ideas or questions.
See ya 🙂